My good friend Brian Dempsey and I decided to team up to address an issue that is basically the underlying principle of training any athlete. Brian and I played baseball together in college, and he is currently a Licensed Massage Therapist and baseball coach in Orlando. Through our own experience as athletes, working with people that are way smarter than us, and training athletes ourselves, we have found that taking a slightly different approach when trying to increase athleticism can make a big difference. Through a multiple part series, we will attempt to scratch the surface of this topic.
Basic Background
Let’s start out with a few definitions so everyone is on the same page and not confused by the terminology.
We will define athleticism as an individual who has maximal control over their body’s movements while moving in a way that is also biomechanically efficient.
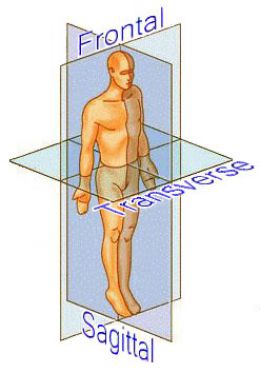
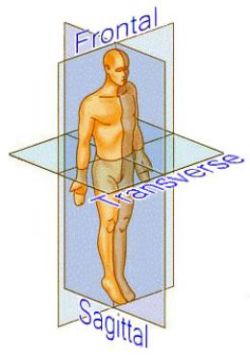
3 planes of motion refers to the 3 basic movement directions we as humans move through during every day activities. Usually, exercises are broken down into the plane in which the movement takes place. For example, a forward lunge would be a sagittal plane movement and a lateral lunge would be a frontal plane movement. Strength is usually taught in an isolated state, in 1 plane, with concentric contractions occurring without an eccentric load prior.
For traditional strength, we are referring to absolute strength, or how much raw weight someone could lift. Functional strength is being able to maintain stability AND mobility through a full range of motion (ROM) in a movement pattern relative to your sport or activity.
Integration: Integration is using the entire, or as much of the kinetic chain, as possible. The opposite of integration is isolation, which is considered to be a single plane exercise with limited body parts and/or muscle groups.
Quality of motion: Quality of motion is how biomechanically efficient a movement is. In other words, how smoothly or fluidly the motion is performed.
Getting Started
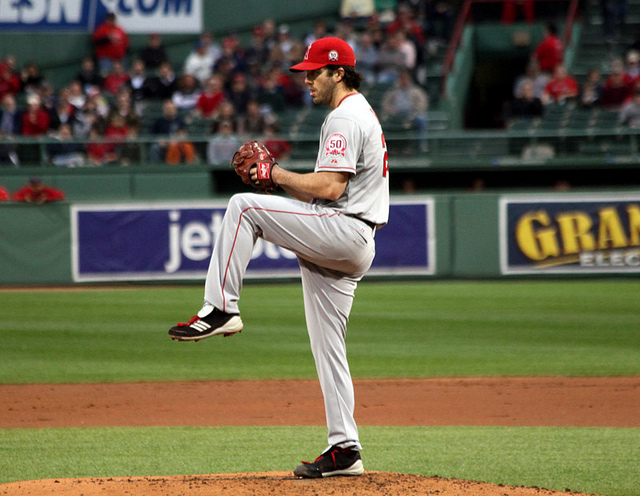
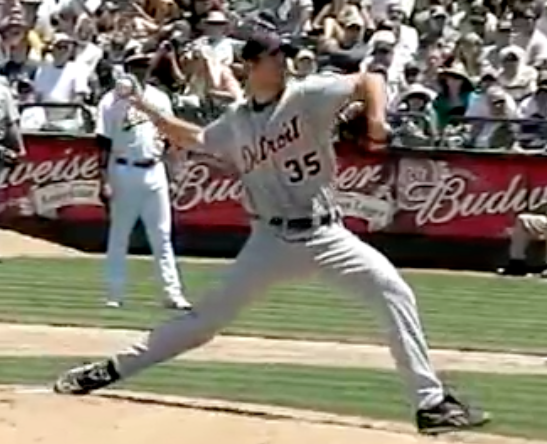
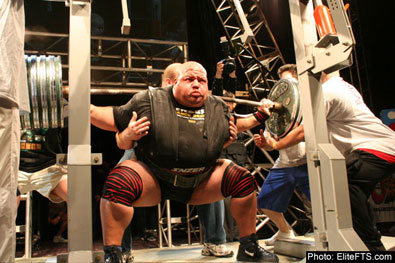
You hear people say they want to be bigger, stronger, and faster all the time. Therefore, many go to the gym and train themselves using primarily traditional lifts such as bench press, squats, and power cleans. As much as these lifts will increase an athlete’s overall strength and power, it doesn’t matter how powerful an athlete is unless they are moving in a way that is biomechanically efficient. Often you see younger athletes in the gym attempting to bench press and they are struggling to keep the bar from waving all over the place, not to mention complete the rep. This is far from the most efficient way for an athlete to increase his strength and speed, and it is probably not that applicable to their sport. Muscles are stabilizers first, and movers second. If you can’t stabilize your body, then your body cannot move as quickly or powerfully as it is capable of moving. Compare this to running on the beach as opposed to running on a track. We are significantly slower on a beach than on a track because sand is an unstable surface and the track is stable.

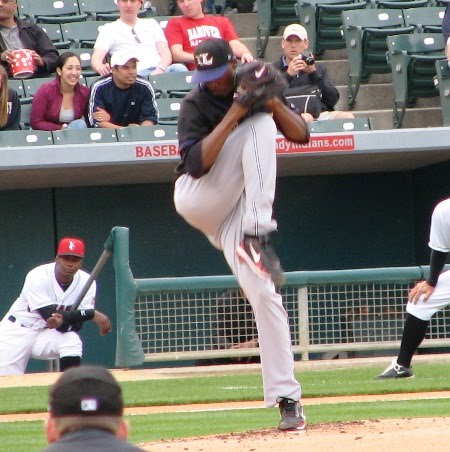
Not exactly a model athlete
When this is the case, the fix is not trying to squat a small house. Instead, it is much more beneficial to increase your overall athleticism. Fixing insufficiencies such as running mechanics, poor movement patterns, body stabilization and immobilities, can go a long way towards improving performance and getting more out of the ability you currently possess. Look at the quality of the movements instead of quantity of weight on the bar. Instead of getting in the gym and attempting to squat a house, try increasing your overall athleticism. Find the positions, directions, or movements you cannot control, or complete fluidly, and improve those by repetition.
This is where all athletes should start. If the quality of the motion is maximized, performance will increase. What body segments are weakest? What movements feel restricted or slow?
It is best to take a step back and work on remedial and corrective exercises to eliminate any compensations or limitations.
As always, please leave your feedback in the comment section. We would like to hear your thoughts on the subject.
For Part 2, we will look at example exercises and why they increase athleticism.
You can contact Brian through his website, www.brian-dempsey.com, or by email at brian.dempsey11@gmail.com.